Friday 25 January 2013

Lace Roses and Carnations

Dear Minions!!

Sorry it's been a while! Been busy working and helping Mom out with house work (it's Tax Season as some of you may well know!). The following are the photos I took to show the steps to make Lace Roses and Carnations! The steps are the virtually the same from the chiffon tutorials so I figured I'd just post the pictures as a follow along and to show a few samples of size variations! Here we go!

Rose


Here's a smaller one in grey

 And purple


This shows the size difference, the black one is about the same size as the peach one pictured above :)

Carnation!


Here is the chiffon and lace carnations side by side


I know this isn't anything fancy or special but the pictures for the lace rose tutorial are a little better than for the chiffon rose. Keep your eyes out Monster's wicked Emilie Autumn concert get-up ( Featuring the Lace Roses!!). That's all for today my darlings, but I promise to post some more fun stuff in the coming week! So.........

Keep kreepin'!

Missa Deadlove xoxo


Saturday 12 January 2013

Chiffon Carnations!

Dear Minions!

Here is the Chiffon Carnation Tutorial I promised you!
Step 1: Cut a strip of chiffon 3” wide by 75cm length (same as in the rose tutorial), however don’t trim starting point on an angle. Instead of folding first 1.5” to start flower, use a basting stitch to gather up about 2”. Wrap gather into a circle, stitch securely and begin overlaps to form petal layers.

        
Step 2: Work in the round like you did with the rose but with deeper overlaps than you did with the rose.
          
                    Step 3: Same as with the rose, work the overlaps out, working base tighter with each round.


Step 4: In order to get  the right shape when finished, draw the fabric together tightly using your fingers to pinch from the base on the flower down to the center.

Step 5: Begin stitching through the body of the flower, going around and pulling thread tightly as you go in order to create a tightly gathered flower base.
Step 6: Once you get this effect flip the flower over, using very sharp scissors (embroidery scissors work best!)  trim the center of the flower to the same level as the outer “petals”. Using  the same technique as a rag quilt, slash up all layers of chiffon to create the petals!


                                         Flower will look like this from the bottom……


                                   And the finished result from the top!!


Lace tutorials to follow!!!


Keep kreepin'

Missa Deadlove xoxo

P.S. Don't miss Bread Day with the Monster!!!


Monday 7 January 2013

Flowers, flowers, everywhere!! But not a single one to eat!

Dear Minions!!

Here's another lovely little craft for you to do on your down time or to give some handmade, unique flare to your creations! Chiffon flowers (This is where the Dainty Lace comes in )! I've mastered roses and carnations so here we go!!
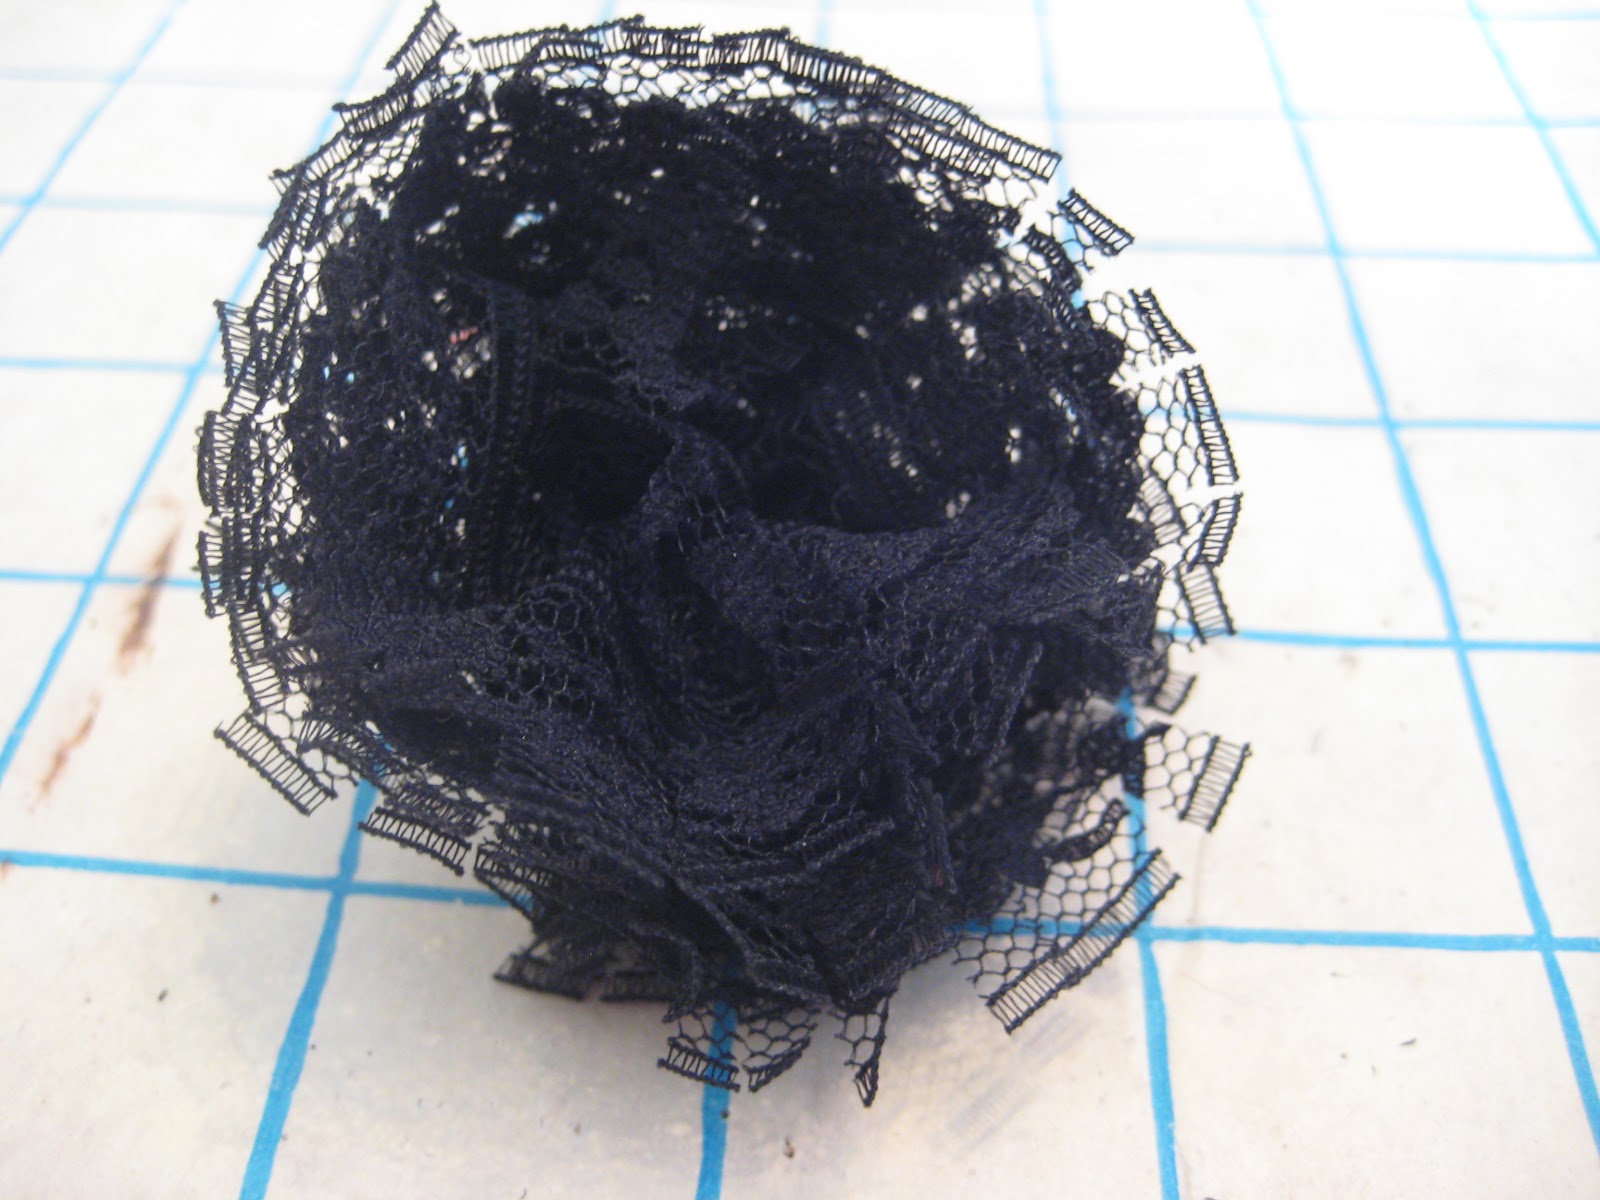
 This is what the finished Rose looks like! Here's how we make it!!

Step 1! Get your fabric, a needle and some thread ( I've used black thread in this to help show the stitching as I go). I have a piece of sea-foam coloured chiffon ( you will see this in an upcoming skirt tutorial!), dimensions are about 75cm x 50cm.

 Step 2! Cut a 3" (8cm) wide strip of the chiffon, the longer the better so I cut a 75cm length.

Step 3! Fold the piece in half (3" to 1.5") as this will add body to the flower.

Step 4! Cut along the open edge on a soft angle, this will make the center set deeper into the flower and give the illusion of the inner petals.

Step 5! To start the flower I took about 1.5" from the narrow edge and folded it over on itself 3 times to give the petal effect of the inner roll of the flower. I then tacked the layers together with two stitches pulled tightly to keep the integrity of the folds. By making small folds ( about 1/4" each) that slightly overlap. Stitch each down from the center close to the outer edge of each segment. 

 
Step 6! Move outward from the center roll with your overlapping folds as pictured above.

As you work around the layers will add up and should start to look like this.


Step 7! As you work farther and farther out you'll want to start stitching through the opposite side of the flower to give the illusion of the outer petals which on a real rose sit lower than the bulkier body petals of the rose.

As you stitch across the flower base and pull the layers tighter together as you continue in the round it will look something like this.

Step 8! Once you've achieved the fullness you want for your rose, clip the excess fabric and fold it neatly in then stitch through the base of the flower a few more times to make sure it's tight and neat!

Your rose should look like this on top. If you like the jagged look you can fray the inner "petals" a bit by pulling at them. To get the smooth effect as pictured below simply trim the frayed edges and to keep everything trim and tidy a bit of Fray Check can be applied to your edges ( available at your friendly neighbourhood sewing/quilting/craft shop!). It will dry clear so don't freak out if it drips a bit :)

Et Voila! Votre petite fleur!!

These are a little finicky when you first start making them but they come in really handy if you want to embellish a dress, or make a cute little hair accessory for that super hard to match colour ( I know my local Ardene's and Claire's have drastically cut back on their variety of hair flowers!! Quel Horreur!). Once you get the hang of it, ( if your thread co-operates!) they take under half an hour to make!

This is a lot of info to absorb so keep your eyes peeled and I'll  add the tutorial for carnations in a PDF a little later on in the week, let me know if this method is better and I'll start posting all my tutorials in PDF format (or I'll just post the companions in PDF if people prefer the initial tutorial being posted in full!). Let me know! That's all for tonight my darling minions!!!!

So keep kreepin',

Missa Deadlove xoxo


Friday 4 January 2013

First installment!!

Dear Minions!

Here is the first little craft project installment I'm going to throw at you! We start with McCall's Craft Pattern M6484 (super cute eh?), I chose the smaller sized Hippo, and jazz it up into........
A Hullapotamus!!!!!


I chose to make the smaller Hippo ( she works up to be 7" height x 15" long!! The larger one ends up being about 12" height by 33" long, you've been warned!). I did the contrast belly in a crazy Turqoise hippy print ( my darling co-worker is making the larger size in the contrasting fabric, I'll post lots of pics when she's finished! We're putting these cuties up as a display in the Fabric Store :) ). 

The skirt is three layers of two different colours of green fringe, dark green for the first two under layers and one layer of yellow green on top ( I got .75m (3/4 yards) of each colour). Starting just under the belly on the right side ( with the Hippo facing away from you) of the Hippo's midriff I pinned the fringe around the full circumference then whip stitched the fringe in place. I then continued to wrap the dark green fringe around adjusting it to sit slightly higher above the first layer. Once again whip stitch this layer in place. With the lighter colour fringe use the same attachment method but only do one layer. 

To hide the bound edge of the fringe I used orange Ric Rac trim ( .75m (3/4 yards) though I ended up with more than I needed), starting on the center of the belly I simply lapped it over the edge of the fringe and hand sewed it down with orange thread. I then sewed individual blue sequins on every other peak of the Ric Rac ( it looked too busy and fussy if I did every peak :S ).

The only other adjustments I made to the pattern were to give her a pooka shell necklace instead of the suggested ribbon, a little sequined flower beside her left ear and instead of the eyes they suggest I used four hole buttons (5/8" size) and stitched them on with orange embroidery floss to bump up the creepy factor!

Other than these little adjustments the instructions provided are very easy to follow and my only other tip would the be very mindful when sewing around the bum area ( if you don't match the markings up exactly she can end up with a couple weird bumps that kind of look like a vagina lol).

I really enjoyed stitching this little baby up with my sister over a pot of tea. Even got my mom singing, " I want a Hullapotamus for Christmas, Only Hullapotamus will do.....". This is just the first example of some of the fun and wild stuff you'll see on here! I promise the next projects will have some step-by-step pictures, but what do you expect from a blog virgin like myself?? Don't forget to keep your eyes peeled for the Mother-Daughter photo shoot for these sweet little darlings in the very near future!

Keep kreepin'

Missa Deadlove xoxo