It's been so long my dears! There was a unfortunate death in my boyfriend's family last week, so I didn't have much chance to come up with anything for you. This week however, I got some inspiration for an amazing dress!

Super cute pattern right?! It's a Vintage Vogue I managed to get for $4 because it was discontinued and it was even my size range!! Being a curvy girl, it's sometimes hard to find cute patterns that are a size 22 (about a 14/16 in stores), several companies only print patterns to size 18 :(

Here's a close up of the bodice detailing that I fell in love with! Though it's my favourite feature of the pattern you will soon see that it's also the main downfall of the pattern!

This is the adorable print I picked up to make the dress. It's from a line of Alice in Wonderland quilting cottons we got in at the store. I fell in love with it the moment I saw it and knew I had to make something out of it. It was't until a couple weeks ago, when I found the pattern, that I was inspired to make it into a dress. My inspiration was initially fueled by one of the lovely girls at work who wore an adorable retro-style dress with a small kitten print on it. I knew I needed a dress with a delicate print like it! While the dresses are completely different in both print, colour and style, it was the idea of it that got me looking for the perfect combination :)

Here is the initial mock up of the dress. I found the instructions quite easy to follow ( I have 13 years sewing experience, so if you're just beginning to sew I'd stay away from the vogue unless you have someone who can help you out :) Nothing is worse than ending up with a garment that stresses you out so much you refuse to wear it in protest lol!).
Looks super cute, right? This picture was taken after I already took the bust in 4" ( I may have screwed up on the gather, but I really have no idea why it ended up so big!). The rib cage was soooooo loose! I happen to be one of the "lucky" girls with enormous boobs, like L Cup boobs, and a small rib cage, like 34" band. While it means I have an awesome hour glass shape, it also means that store-bought clothes rarely fit, I have to engineer my own bathing suits, I have to alter any pattern I make so that the waist is usually one or two sizes smaller than my bust and hip, and I can't sleep on my stomach lol!
I want to go off on a bit of a tangent here and say that I love my body, the problems listed above, while annoying and inconvenient, are not a negative comment on my size or body shape, just something I hope other people can relate to in some form or fashion. We all have things about ourselves we don't like, but overall, I truly love every part of my body and I encourage all women to find at least one feature they have that they can totally love. In western society there seems to be a premium on thin, fake and tan, but that isn't beauty. It may be to some people, but I truly believe beauty is in the eye of the beholder and there is something beautiful about everyone, inside and out :) But I digress!!
Another problem with my beloved gathered bodice is that with my large bust, the bra piece of the pattern just, barely, covers half of the girls, I'm talking one dropped spool of thread away from a nip slip barely lol.

Here's a close up of Mod (my dressform) with her lovely fabric boob job. I can't stress enough, how much I love the contrast binding/bow detail and the gathers! It just looks so soft and feminine!

Now here's a selfie of the dress on me! Notice the loosely pooched sides at the rib cage and the way the girls are traveling south into the vast expanse that is my lack of rib cage to fill out the lower bodice! Super uncomfortable!!

And here is a picture to illustrate the gross, braless cleavage! Notice the gap between my chest and the strap where my breasts fill out, it feels and looks terrible in my opinion!
So the question is....... As crafty, thrifty women, how do we overcome the tyranny of ill fitting patterns?? Simple! Alter the shit out of those sorry, shapeless garments that we all make from time to time!! Here's how I turned this 1940's vintage dress into something fit for a modern twist on Victorian Tea Time :)

The basis of my redesign is a choker made from the contrast fabric which will support the chiffon upper bodice you will soon see! I measured my neck at 14" circumference so I cut a length of fabric at 19" to allow for self facing for the button hole and overlap.

This picture is just to show that I made my seam at the 7/8" measure on my machine to make a large enough band to sew both chiffon ruffles on, yet small enough to not be overbearingly thick! I sewed down one short edge and one long edge so I could turn the strip right side out.

While turning the strip right side out at my open end I left 2" folded in to make the facing for the button hole. I pressed the strip to get a clean surface to work on while pinning. I then marked a line at 1 1/2" from either end to gauge the overlap. The total length of the strip now is 17".

Now, for the chiffon I keep mentioning!!! I used two layers of chiffon in order to get the right colour yellow and to have a little more coverage in the nippular area lol. I used a single layer of each with the off-white layered under the soft yellow. The chiffons are both 60" wide (150cm) so matching the cut edges I trimmed the salvages and did a 1/4" hem along each salvage edge. I bought .75m (30") of each colour and had TONS! A .5m (20") length would have been enough.

The overlap markings from before are also excellent gauges for your gathering. I gathered the full 60" width into the 14" length on the neck band. I'm a touch OCD about gathering so I tend to pin tuck rather than use a stitch and gather along the stitch. I find it gives more precise and equal gathers.

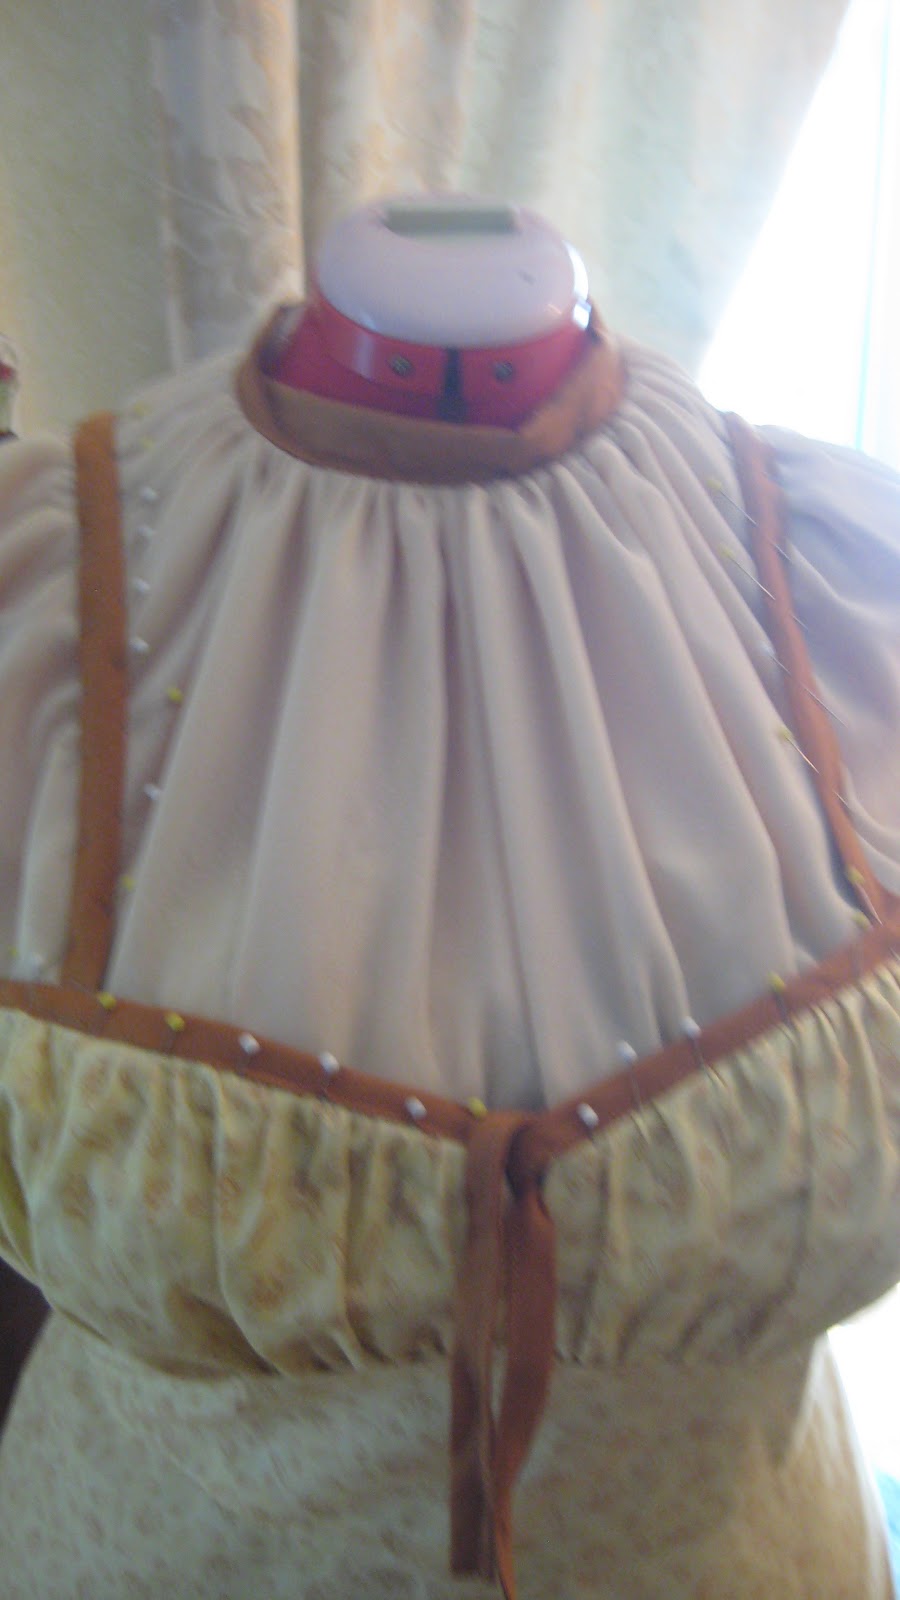
Here's a view of the collar pinned with the overlaps, the neck, ends up being 15 1/2" to allow for movement and comfort, also the gap between the chiffon edges gives a cute effect when it's done. I simply wrapped the collar with the chiffon gather around the neck and adjusted the drape of the chiffon to cover the shoulders, chest and back.

Here is a back view with the dress layered over the chiffon drape. As you can see there is an overlapped gap between the binding edges which I wanted to mimic with the chiffon drape :)

Here is a front view with the drape before any adjustments have been made to the gathering in the chest and back, not too shabby so far eh?

Here is the initial pinning in the back, I brought the drape edges in to the width of the button holes. It makes an adorable peep back :)
Now that the gathers have been evened out a bit, I've pinned them down :)

Here's a closer up view of the bodice, I undid the bow to cut down the risk of catching it in the stitching.
From this point I took the dress off Mod ad stitched from the side of the bust, along the front binding, down the peep hole under the bow and along the inner edges of the straps. In the back I stitched from the straps to the chiffon edges. I then cut out the "sleeve" sections after trimming the excess from inside the bodice. After trying on the dress at this point I discovered a wicked area of side boob showing, and while the boys may love the side boob, work frowns on that sort of thing :P To fix that problem, I simply hemmed the straight edges of the chiffon I cut out of the arms and created a boob-muta triangle (get it? like the Bermuta Triangle! I crack myself up!) section that extends from the side seam of the bodice to 5" up the strap, sneaky I know! The final touch to add was a covered button for the neck band, I used the teapot fabric to make the button contrast against the band, just like the dress buttons down the back are contrast (I LOVE covered buttons, they work for just about anything and look so fancy even though they are the easiest things to make!).
Now, le piece de resistance! The finished product!


For the ruffle on the top of the collar I simple cut a 22"x 3" length of both chiffons, folded it in half and stitched the short sides at 1/2" seams and gathered it into the 14".

The collar and chiffon upper bodice give enough structure to keep the girls in line. I also took the back darts in to reduce some of the rib cage excess and took the whole bodice it at the side seams to reduce the rest of the bulk. With the style and cut of this dress I can't really wear a bra (especially since all my bras are pretty much old granny bras lol), but the alterations make me very comfortable with wearing no bra in this dress. I could always wear a corset under it if I wanted a little extra support :)
I hope you enjoyed reading this post as much as I enjoyed making it! I love sewing for exactly this reason! The challenge of altering existing garments or sewing a garment from scratch is a thrill to me. It's a great way to express your individuality and it has always made me feel special knowing that I'm the only person that will ever have this exact dress :) I encourage anyone with an interest to take up sewing. It really isn't difficult! It just takes some patience, a desire to create, the ability to think outside the box and a love of experimentation!
I'm thinking of making "Awesome Alterations for Busty Babes" a monthly feature. It gives me a chance to share some of my creations and techniques with all of you, and it's a good motivator to get some sewing done lol. Let me know what you think of making this a monthly feature in the comments! So, until next time my darlings.....
Keep kreepin'!
Missa Deadlove xoxo